

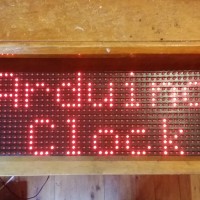
Power Meter - LCD and Arduino based.

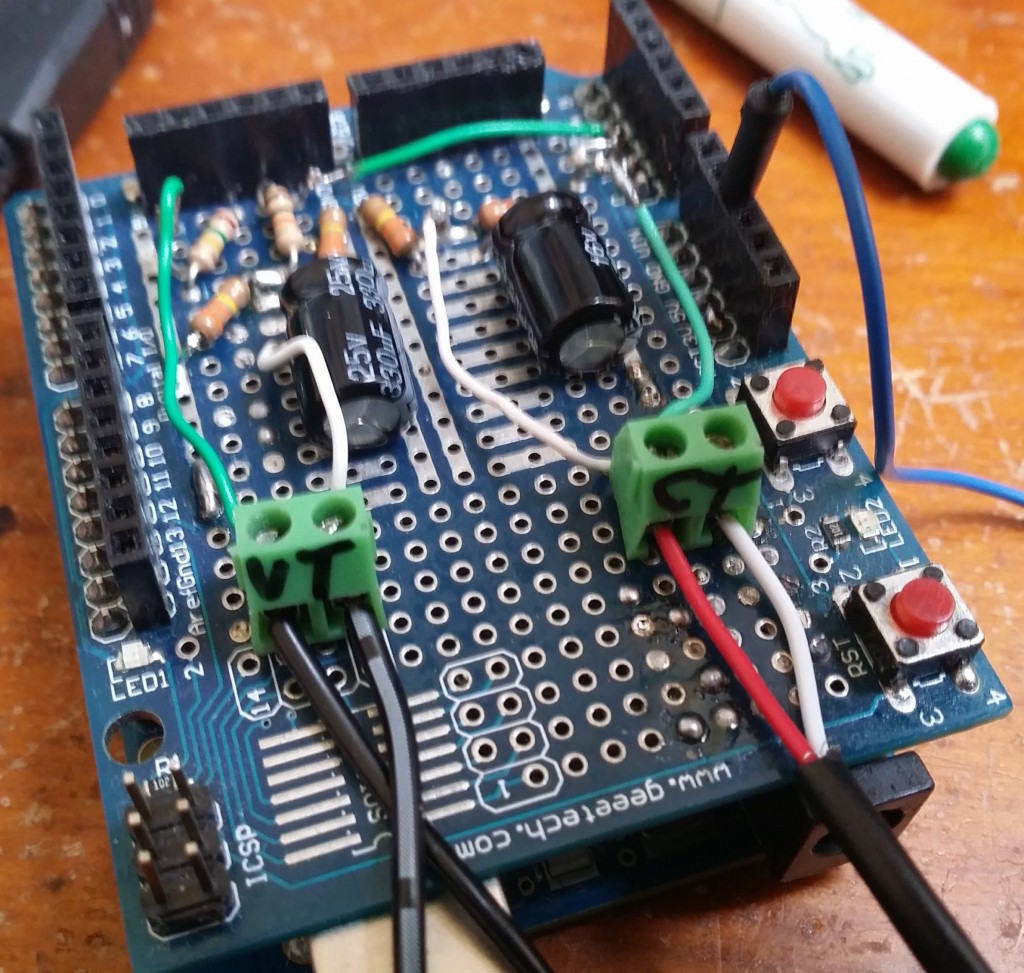
After recently reading Emon’s webpage on monitoring power consumption with a VT, CT an and arduino, I quickly bread-boarded their recommended circuit. Seen HERE.
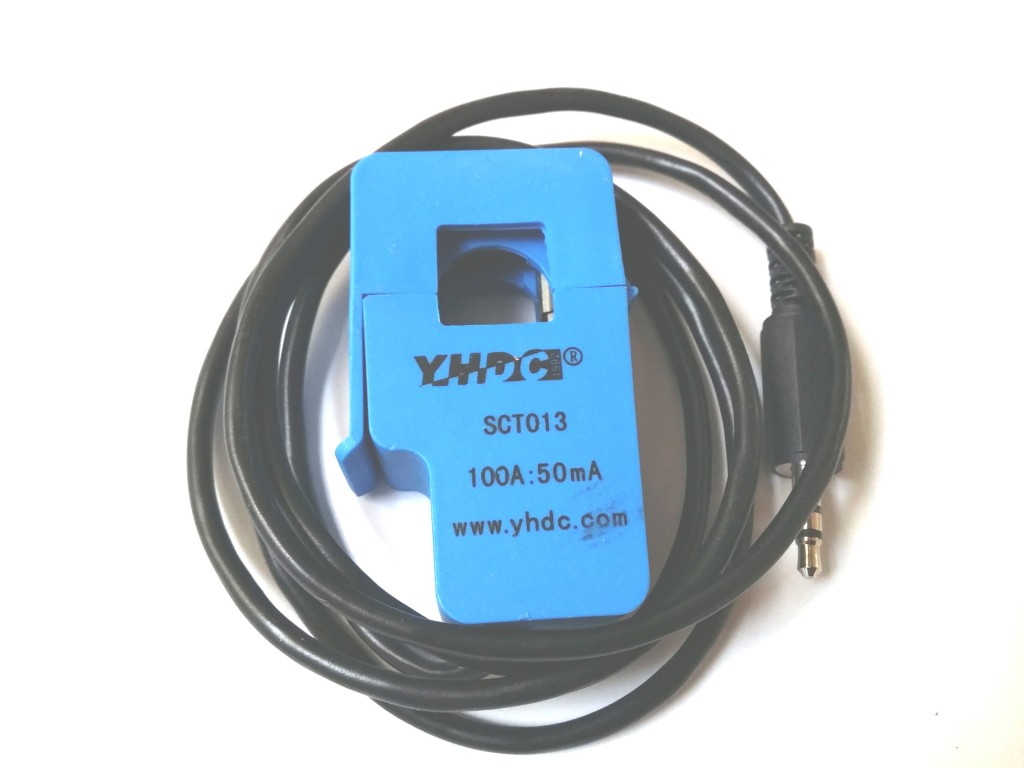
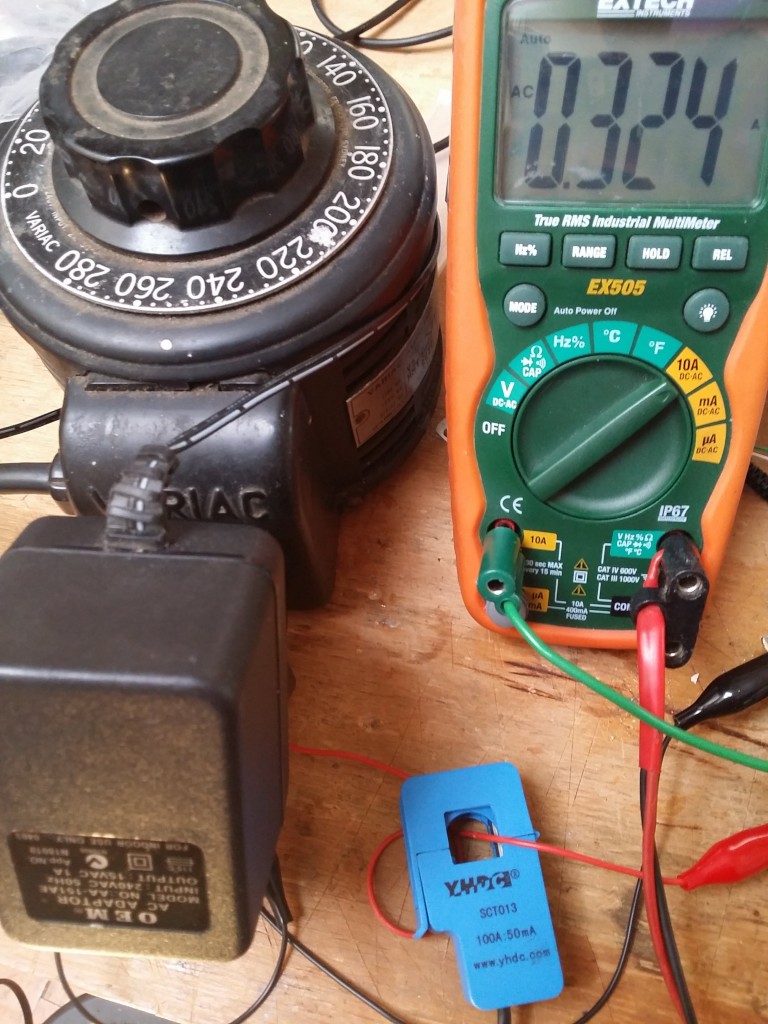
You need an AC plug pack and a clip on CT. The AC plugpack gives us a directly proportional voltage to the AC mains voltage. The CT gives us a voltage directly proportional to the AC mains current.
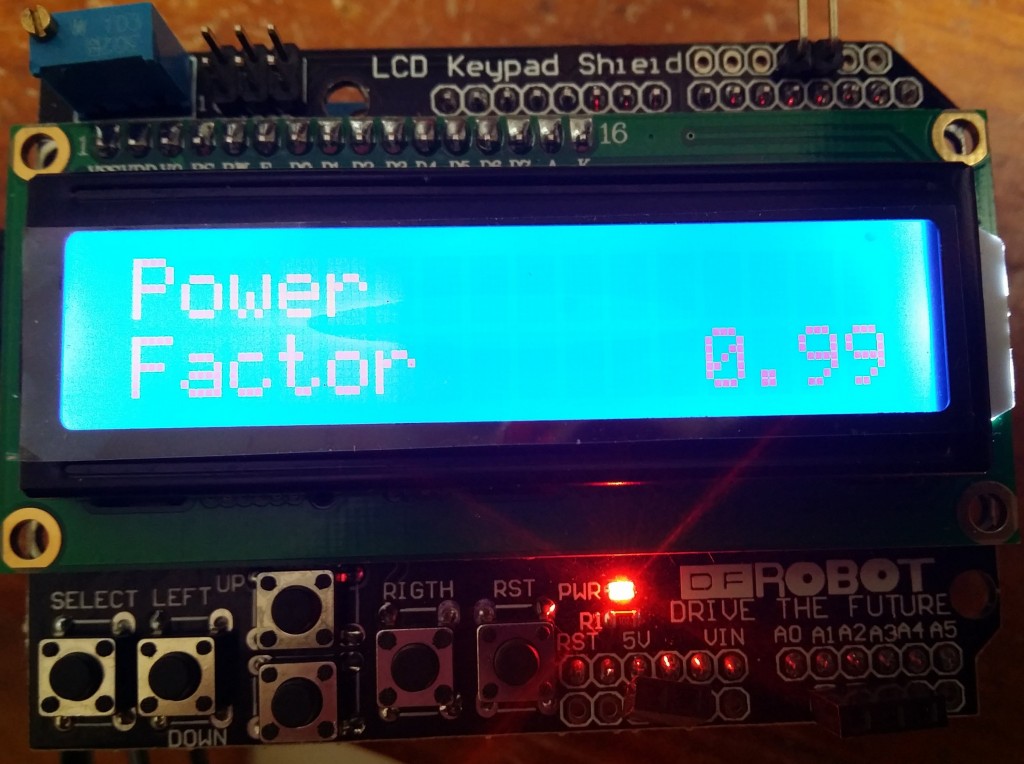
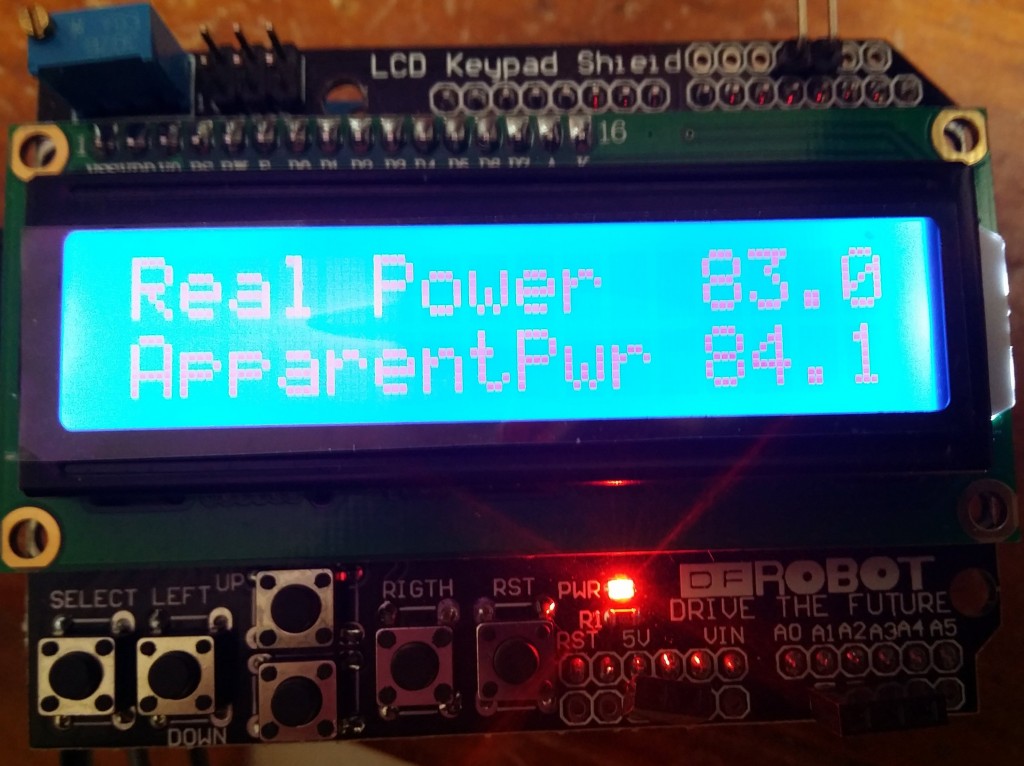
It seemed to work well so I transferred it to a prototyping shield and added an LCD keypad on top. The code can measure Voltage, current, power factor, resistive power and reactive power.
It’s done by using the fantastic emon library which does all the heavy lifting. Making it possible to do away with rectifying the AC signal and giving us all the calculated values straight to variables.
In the setup these 2 lines initialise everything:
emon1.voltage(3, 225, 1); // Voltage: input pin, calibration, phase_shift
emon1.current(2, 0.3); // Current: input pin, calibration.
Later in the code each variable can be pulled out to use with this code:
emon1.calcVI(20,2000); // Calculate all. No.of half wavelengths (crossings), time-out
emon1.serialprint(); // Print out all variables (realpower, apparent power, Vrms, Irms, power factor)
float realPower = emon1.realPower; //extract Real Power into variable
float apparentPower = emon1.apparentPower; //extract Apparent Power into variable
float powerFactor = emon1.powerFactor; //extract Power Factor into Variable
float supplyVoltage = emon1.Vrms; //extract Vrms into Variable
float Irms = emon1.Irms; //extract Irms into Variable
Things to Do
I hope to add a web page output and possibly 3 phase measurement.
This project is fantastic for learning about power factor and how each component is measured.

Measuring voltage and current
Here is the example code. Using the EMON library because its pretty good.
// Basic sketch for EmonWRT
// Version 1.2
#define FILTERSETTLETIME 15000 // Time (ms) to allow the filters to settle before sending data
const int CT1 = 1;
const int CT2 = 1; // Set to 0 to disable CT channel 2
const int CT3 = 1; // Set to 0 to disable CT channel 3
const int VOLT = 1; // Set to 0 to disable
const int UNO = 1; // Set to 0 if your not using the UNO bootloader (i.e using Duemilanove) - All Atmega’s shipped from OpenEnergyMonitor come with Arduino Uno bootloader
#include <avr/wdt.h>
#include <JeeLib.h> // Download JeeLib: http://github.com/jcw/jeelib
ISR(WDT_vect) { Sleepy::watchdogEvent(); } // Attached JeeLib sleep function to Atmega328 watchdog -enables MCU to be put into sleep mode inbetween readings to reduce power consumption
#include “EmonLib.h”
EnergyMonitor ct1,ct2,ct3; // Create instances for each CT channel
float power1, power2, power3;
float voltage;
const int LEDpin = 9; // On-board emonTx LED
boolean settled = false;
boolean firstsensor = true; // Just to know if a , must be added in the CSV output
void setup()
{
delay(10000);
Serial.begin(9600);
Serial.println(“emonWRT CT123 and Voltage v1.2”);
pinMode(LEDpin, OUTPUT); // Setup indicator LED
digitalWrite(LEDpin, HIGH);
if (UNO) wdt_enable(WDTO_8S); // Enable anti crash (restart) watchdog if UNO bootloader is selected. Watchdog does not work with duemilanove bootloader // Restarts emonTx if sketch hangs for more than 8s
ct1.voltage(3, 225, 1); // Voltage: input pin, calibration, phase_shift
}
void loop()
{
power1 = ct1.Irms; //ct.calcIrms(number of wavelengths sample)*AC RMS voltage
power2 = ct2.Irms;
power3 = ct3.Irms;
voltage = ct1.Vrms; // AC Mains rms voltage
// because millis() returns to zero after 50 days !
if (!settled && millis() > FILTERSETTLETIME) settled = true;
if (settled) // send data only after filters have settled
{
digitalWrite(LEDpin, HIGH); delay(2); digitalWrite(LEDpin, LOW); // flash LED
Serial.print(“EMONWRT “);
if (CT1) {
if (!firstsensor) Serial.print(“,”);
firstsensor = false;
Serial.print(power1);
}
if (CT2) {
if (!firstsensor) Serial.print(“,”);
firstsensor = false;
Serial.print(power2);
}
if (CT3) {
if (!firstsensor) Serial.print(“,”);
firstsensor = false;
Serial.print(power3);
}
if (VOLT) {
if (!firstsensor) Serial.print(“,”);
firstsensor = false;
Serial.print(voltage);
}
firstsensor = true;
//Serial.println(” “);
Serial.println(” “);
delay(100);
Sleepy::loseSomeTime(5000); // sleep or delay in seconds - see emontx_lib
}
}


11 Responses